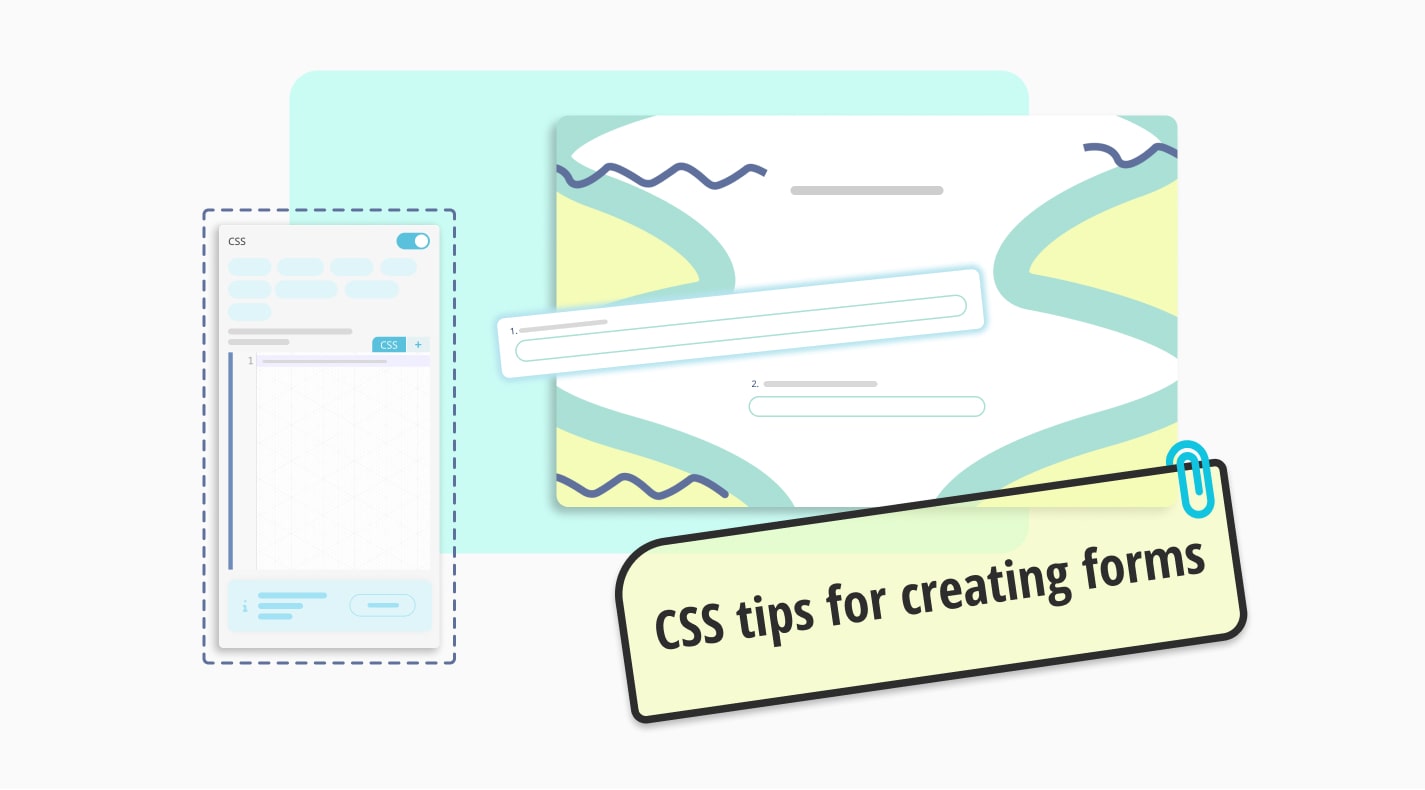
If you are building an online form, you want it to be outstanding and have a matching design with your branding. This is more than possible on forms.app. All you have to do is open the design tab and toggle some options. And if you want more, that’s a CSS panel waiting just for you.
This article will cover how you can use CSS to better customize your forms, why you should use it, and a few examples to get you started. We will walk you through each and every step to make sure you understand the codes and change them accordingly. This way, you will be able to use these codes anywhere else. Without further ado, let’s get started.
How to get started styling your forms with CSS
To begin styling your forms, first, you have to make sure your form has all the fields and questions you’ll use. This is important to prevent unseen disasters in your design. So finish your form and then open the custom CSS option under the Design tab.
“It’s an empty panel; how should I start?” you may ask. It’s simple; click on the form elements you want to change. It will give you the class of the element you have chosen. After selecting one, you can go back to its parent classes as well. Then, all that is left is adding CSS properties and values. That’s it; these are the basics of using forms.app’s CSS panel.
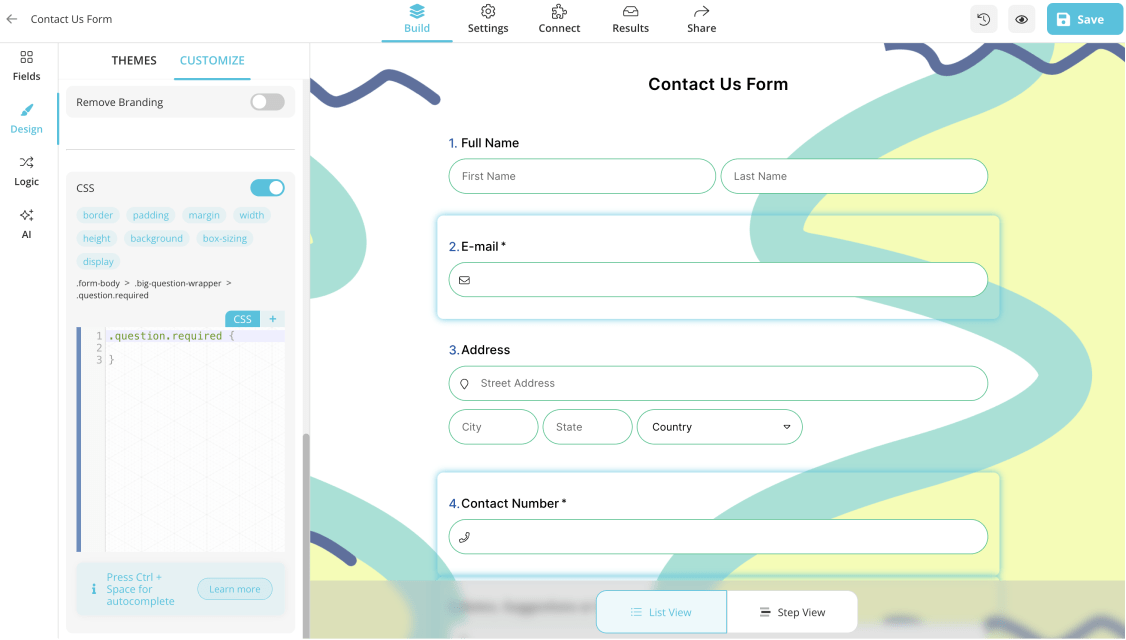
Adding CSS properties to form fields
Do I need to know how to code?
Now, you may be saying: “Well, yes. But what about the codes?” To answer that question, it is always better to know how to code CSS, especially when the topic is how to style your form with CSS. But we included all the explanations you need to use and execute the styling ideas and codes below. So you can start using the codes below even if you do not have any experience.
CSS tips and examples for your next form
Before you move on to the CSS tips and examples below, please keep in mind that these are prepared solely for forms on forms.app. If you plan to use it elsewhere, you will probably need to change a few codes. Also, make sure to check how your form looks on different devices and add another style if necessary.
Please check if the form example is in the list view or in the step view. Your codes will only work in forms with the same view type.
Now It’s time for the main dishes; we mean CSS examples, of course. Please feel free to combine codes and experiment with them. If you have any suggestions, you can also fill out the form at the bottom.
1. Changing font size
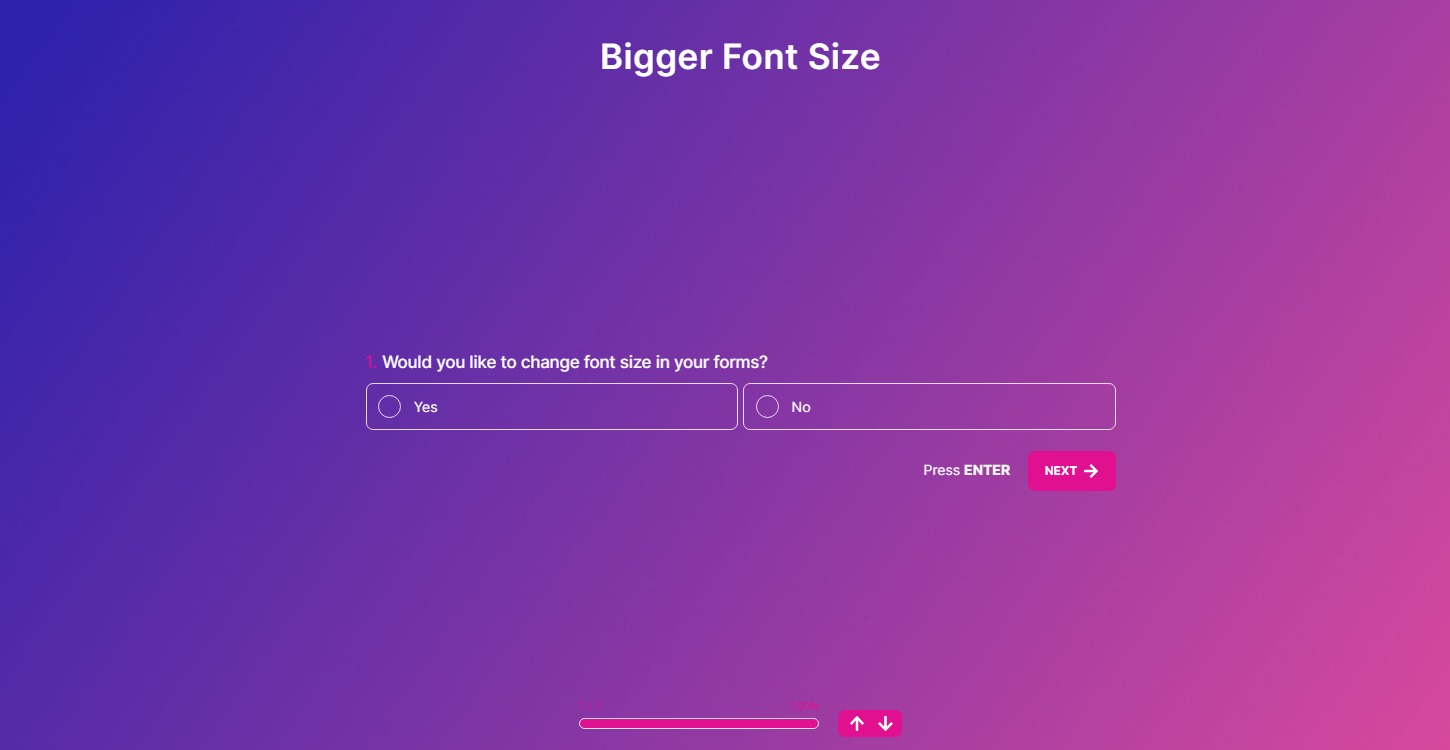
One of the most basic yet impactful actions you can take with CSS is changing the size and shape of objects. This will allow you to show your form in the exact way you want. Below you will find three examples of this topic.
Let’s start off by making the texts smaller or bigger, depending on how you want them to be. For this, you will need to use the “font-size” property. Once you enable the CSS panel, click on the part you want to change and simply enter the following code between the brackets “{ Your code goes here }”: “font-size: 25px;”
It’s important to use "!important"
For some elements, you may need to add “!important” before the semi-colon. This makes your code get processed first.
Here’s an example: p.question-description { font-size: 16px !important; }
In the example below, we change the font size of the form title. You can simply copy and paste this to make your form title bigger or smaller. here's the code:
.form-title {
font-size: 35px;
}
2. Changing position
Changing the position of some elements is one of the most basic and common uses of CSS. This is important to maintain the order and position of your elements. On forms.app, every element is in the right position and gives way to awesome-looking forms. Sometimes, however, you may need to adjust the element positions based on your website design or for other purposes. And for this, you need to use the following properties:
- Position: it allows you to choose an anchor for your elements. In other words, you use it to choose the way your elements get positioned. Here are the values you can use with the position property: static, absolute, fixed, relative, sticky, initial, and inherit. Learn more about the position property here, or simply experiment with these values.
- Top: The top property is used when you want to set a distance of an element from the top of its parent container.
- Bottom: Just like the top property, the bottom property in CSS will work to give an element distance from the bottom of its parent container.
- Right: The right property will work to give an element distance from the right side of its parent container.
- Left: The left property will work to give an element distance from the left side of its parent container.
- Padding: The padding property is useful when you want to add space between an element's content and its border. You can make this more specified by using values such as padding-top, padding-bottom, padding-left, and padding-right.
- Margin: The margin property is used to add space outside the border of an element. Similar to the padding property, you can specify it more by using margin-top, margin-bottom, margin-left, and margin-right.
3. Changing element shapes
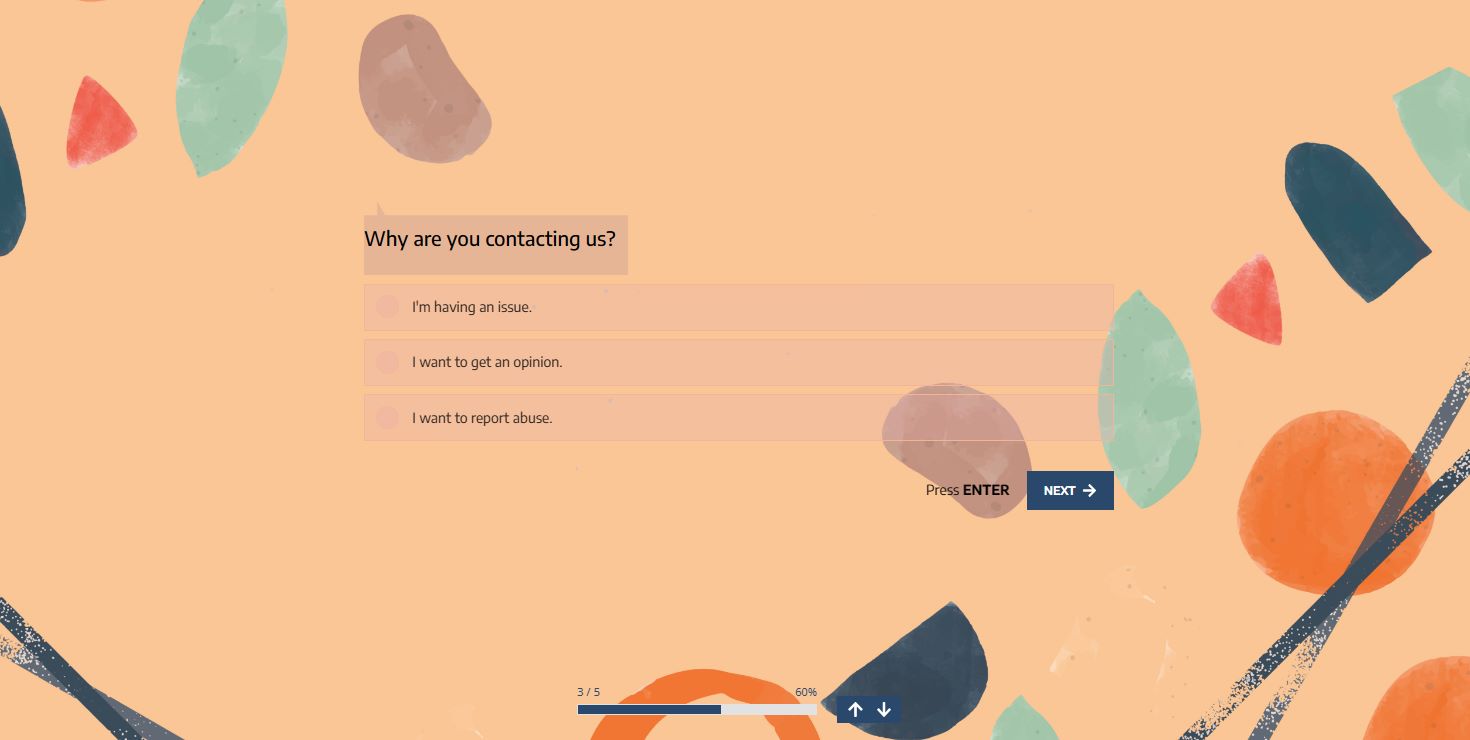
Now that you already see how the syntax works for CSS, you can try any code property you want. For example, you can use “clip-path”, “height”, and “width” to clip and shape elements. You can learn more about the clip-path property here and use a clip-path generator for custom shapes.
To show an example, we will shape form fields as what they would look like in a chatbox. You will notice that there are other CSS properties involved in this example. Feel free to experiment and delete them to learn what they are used for. Of course, you can search it up as well. Here's the code you need for this form:
editable-input.view {align-items: center;background: #E6B596;
clip-path: polygon(0 19%, 5% 19%, 5% 0%, 8% 19%, 100% 19%, 100% 100%, 0 100%);
display: flex;font-size: 20px;height: 10vh;justify-content: left;position: relative;width: 105%;
}
.f-input {align-items: center;
background: rgba(240, 181, 143, 0.95);
clip-path: polygon(0 0,100% 0,100% 84%,95% 84%,95% 100%,92% 84%,0 84%);
display: flex;font-size: 20px;
height: 10vh;justify-content: left;
position: relative;width: 100%;}
4. Using gifs as a background
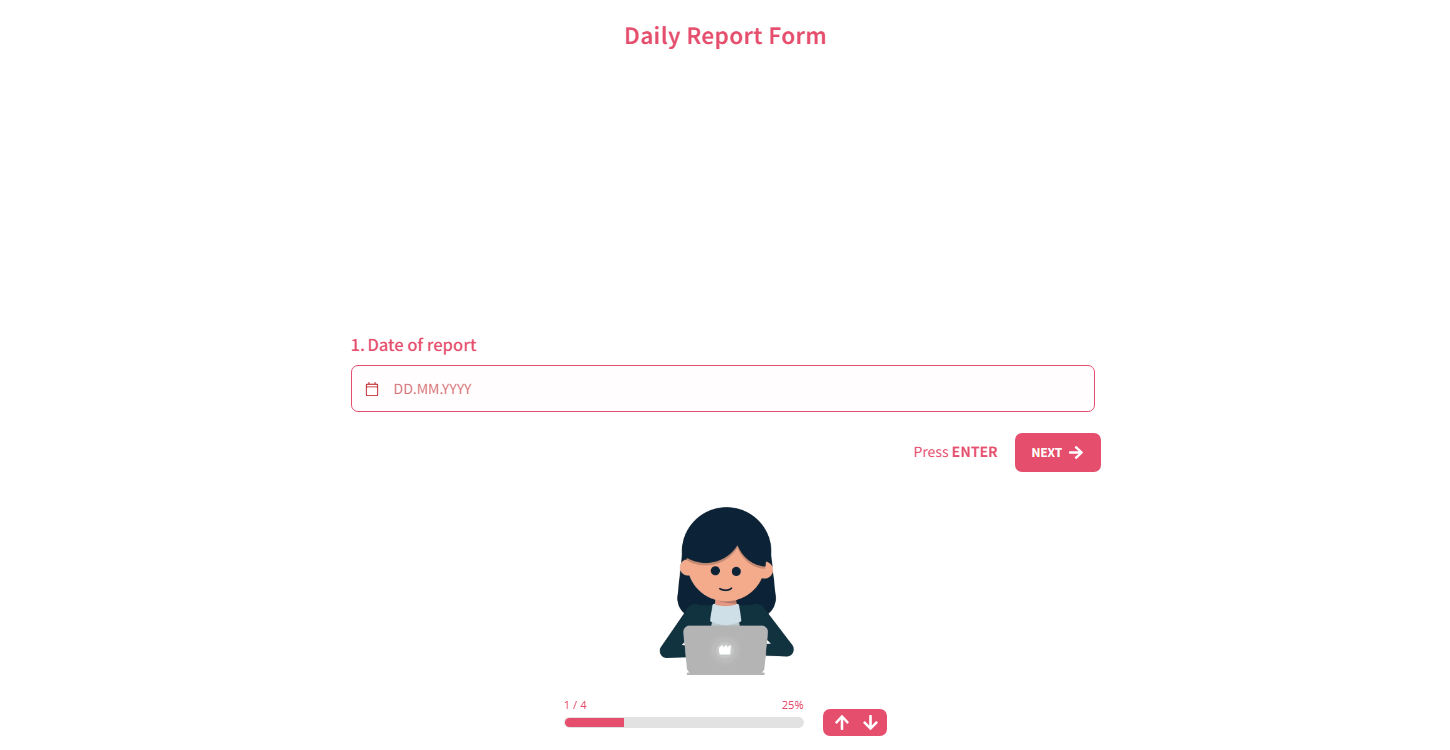
You have many animated backgrounds to choose from on forms.app. But sometimes you need more. That’s where Gifs come in. They are generally low-sized and animated images that you can use for many different things.
But it gets a bit messy when you try to use them as a background. And the reason is… They're terrible when it comes to resolution. So we suggest using minimalist gifs with a solid background. By matching the background colors, you can create an illusion of wholeness and unity in your background.
In this example, we use a step view form, but you can change to code based on your own form. So here is the code for having gifs as a background and an example form to show how it looks:
.question.current {
background: url('https://miro.medium.com/max/1400/1*qdAW1TjCN57h1lbuuzvchg.gif');
background-attachment: fixed;
background-position: bottom;
background-repeat: no-repeat;
background-size: 17%;
padding: 10px;
}
5. Having a random background
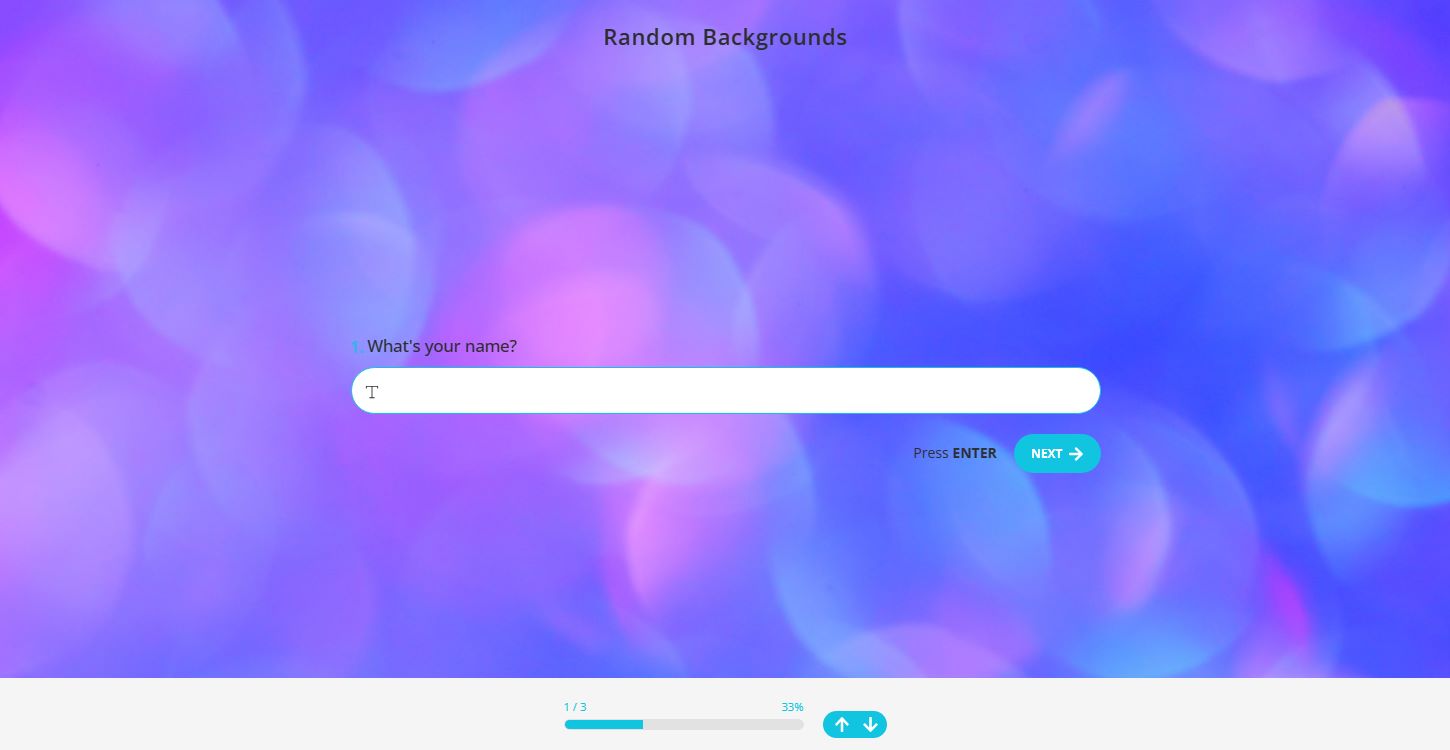
If you try to make your forms more dynamic and engaging, you can use CSS to make this happen. And one way to do so is to change your background randomly. This is not suitable for every form or survey type because, let’s face it, you want your forms to look in a specific way. Most of the time, this is not something you want to take chances on.
But if you want to try something fun, you can simply follow along. In order to get a random image, we will be using Unsplash’s website, which gives you a royalty-free (CCO) image arbitrarily every time. Simply use the “background-image” property and add the URL in the code. To make sure the background looks okay on all devices, we choose to only get images that have a size of “1920x1080” and use values such as “center”, “no-repeat”, and “cover” to prevent repetition.
.question.current-opacity {
background-image: url('https://source.unsplash.com/random/1920x1080/?abstract,light') !important;
background-position: center;
background-repeat: no-repeat;
background-size: cover;
}
6. Having a blurred background
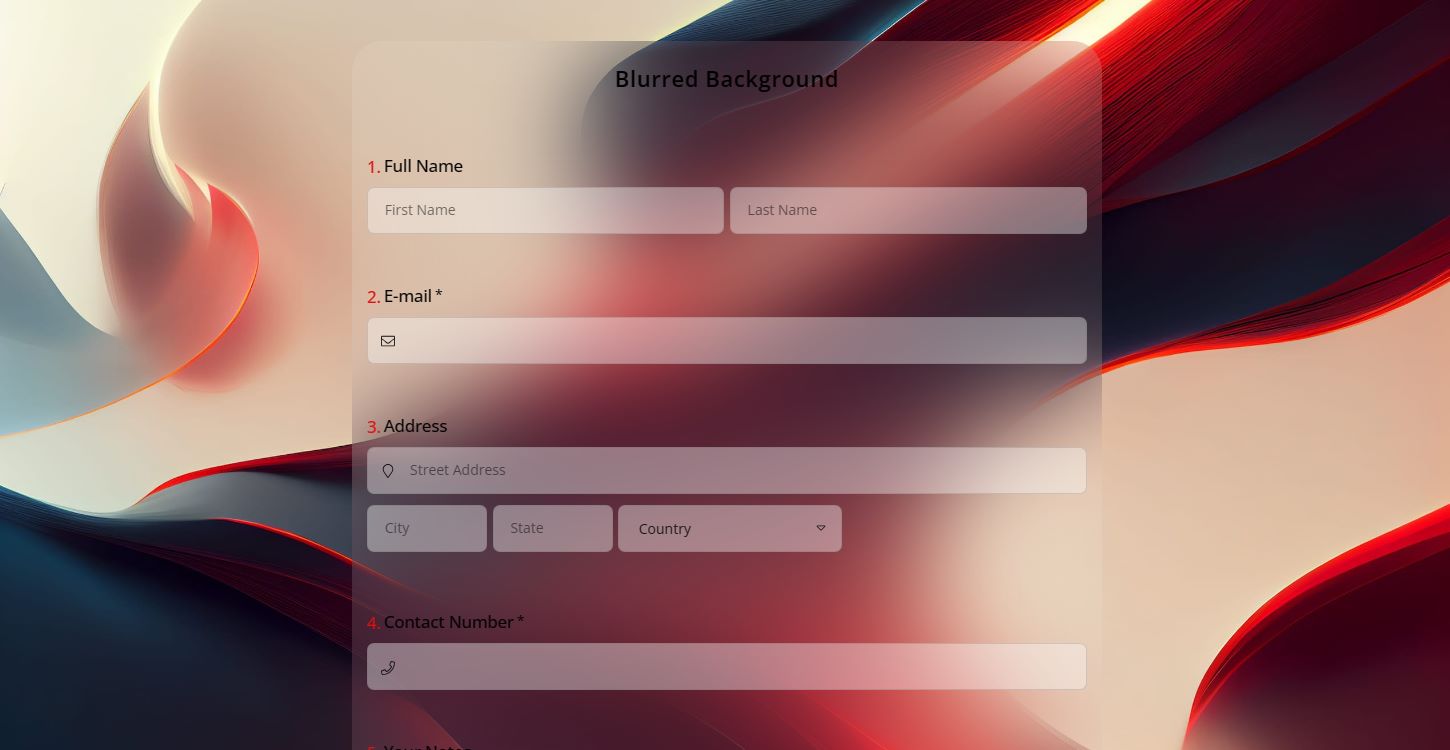
One of the most effective ways to make your forms look more aesthetic is by presenting questions over an icy or blurred background. Even though this seems a complex thing to do, you can easily achieve this by using only one property: “backdrop-filter”
The backdrop-filter property allows you to apply filters only to the background, leaving other content untouched. It is possible to increase or decrease the blurriness by changing the value. Visit here to learn more about the backdrop-filter property and its values.
.form-body {
backdrop-filter: blur(50px);
background: rgba(255, 255, 255, 0.1);
border-radius: 30px;
}
7. Removing unwanted elements
Sometimes you want some things to disappear, forever. While this can be hard in real life, it is an easy task to complete in CSS. All you have to do is select the element you want and combine the “display” property with the value “none.”
If you are sure that everything is right with your code, but it doesn’t work. Try adding “!important” to override other codes.
Your code should look something like this:
.progress-wrapper {
display: none;
}
.right-side.arrow-controls {
display: none !important;
}
In this example, we have removed the progress bar and arrows under the form. But you can simply select any element and use the code above to remove it.
8. Creating a two-column layout

If you want to show more than one form field in a row, then you will need to show your forms in multiple columns - with CSS. This can be done in many ways, but below you will find the most common and consistent way of doing this. Feel free to experiment with it and test your forms on various desktop and mobile devices before you use it.
8.a. First method
.question {display: inline-block; height: 100px; padding: 5px; width: 370px;}
.question.submitbutton.right {height: 50px; left: 49%; position: relative;}
8.b. Second method
form .big-question-wrapper .question-info { display: none;}
form .big-question-wrapper .question { float: left; width: 50%;}
form .big-question-wrapper .question:last-child { width: 100%;}
.submit-button { float: left; width: 100%;}
.submit-button .i-button { width: 50%;}
.content { height: 50%; padding-bottom: 0 !important; padding-top: 0 !important;}
9. Inner shadowing effect
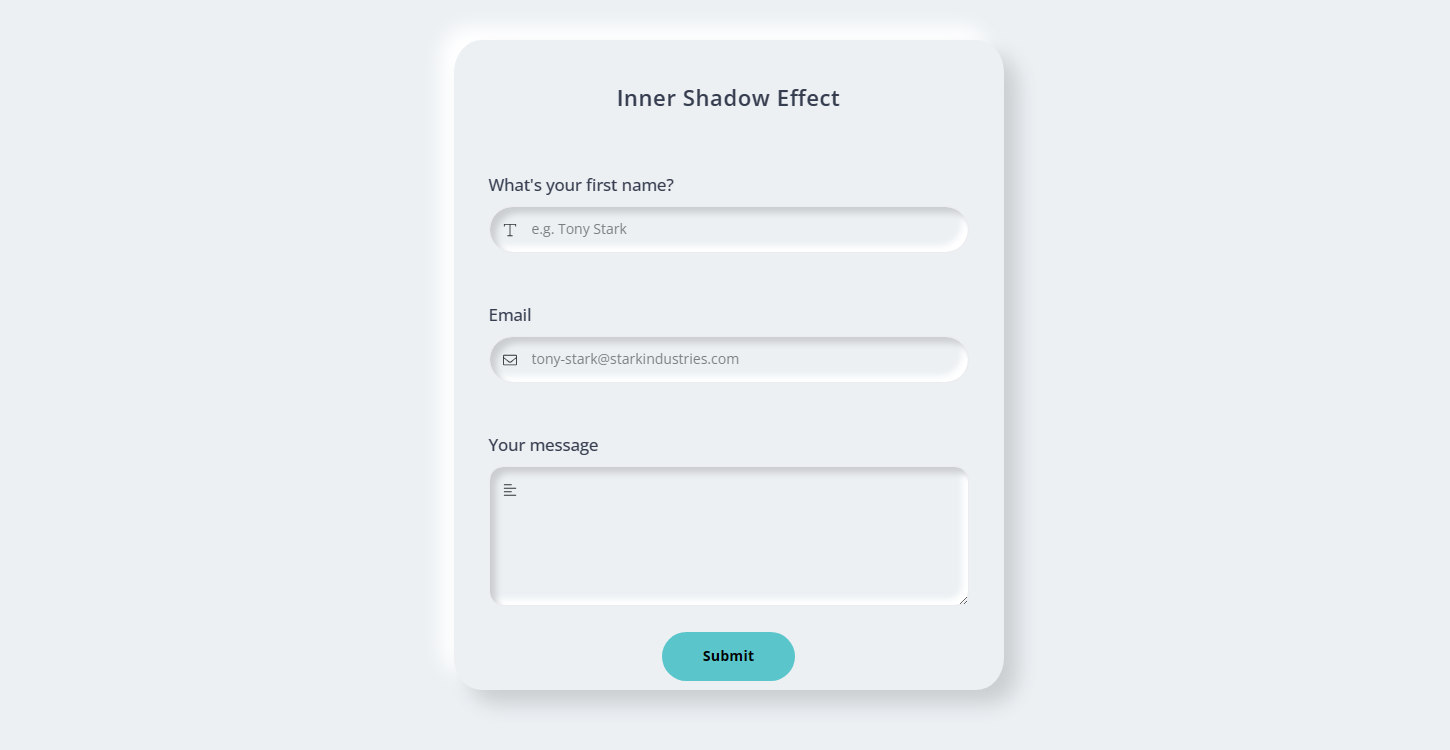
The coolest example, the inner shadowing effect, is also the last one for this article. Having various properties and values, this code below will transform your forms into a 3D-looking and eye-pleasing piece of art.
Inspect and analyze this code and change values based on your preferences. If you have suggestions and ideas about CSS tricks to use in forms, fill out the form here where we applied the inner shadowing effect.
.f-input { background: #ecf0f3; border-radius: 50px; box-shadow: inset 6px 6px 6px #cbced1, inset -6px -6px 6px white;}
.form-body { background: #ecf0f3; border-radius: 5%; box-shadow: 14px 14px 20px #cbced1, -14px -14px 20px white; height: 650px; margin-left: auto;margin-right: auto; padding: 20px; width: 550px;}
.upper-canvas { background: #ecf0f3; box-shadow: inset 6px 6px 6px #cbced1, inset -6px -6px 6px white;}
.submit-button.center { height: 2px; left: 0%; top: 0; width: 100%;}
Start creating your forms with free templates
In this article, we explained why and how you can use CSS to customize your web forms and have an awesome form design. You can use these codes on your forms on forms.app or to change your HTML form design alike. If default styles are not enough for you and you have CSS tips for online forms to offer a better user experience, please let us know.
But you don’t need CSS to start creating forms. forms.app gives you as many options as possible when it comes to online form design. Simply select one of the templates below to create your web form with no code. Follow forms.app’s blog and visit other articles for more guides on styling web forms and collecting data in the best way possible.
Salim is Content Marketing Manager at forms.app. Ever curious, he loves researching different topics and areas. Salim has a lifelong passion for cycling and traveling. He has expertise in content marketing, content writing, online forms, and surveys.
- How to get started styling your forms with CSS
- CSS tips and examples for your next form
- 1. Changing font size
- 2. Changing position
- 3. Changing element shapes
- 4. Using gifs as a background
- 5. Having a random background
- 6. Having a blurred background
- 7. Removing unwanted elements
- 8. Creating a two-column layout
- 9. Inner shadowing effect
- Start creating your forms with free templates